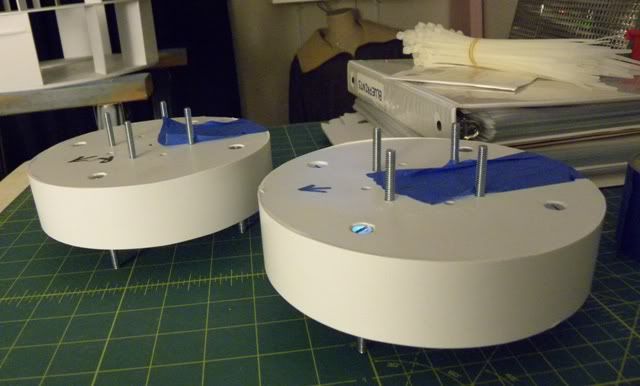
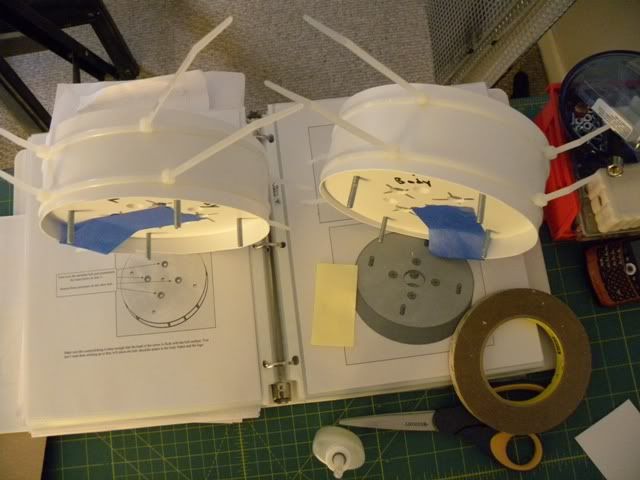
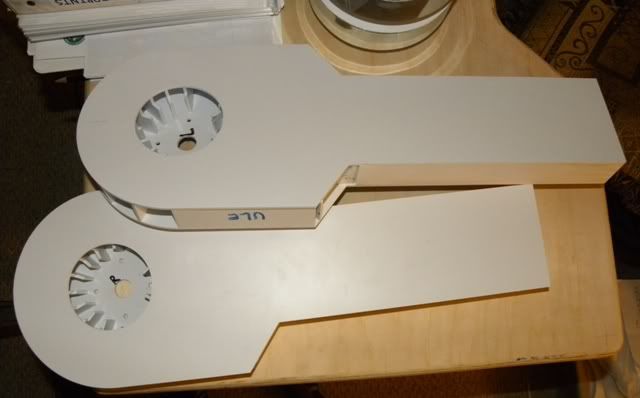
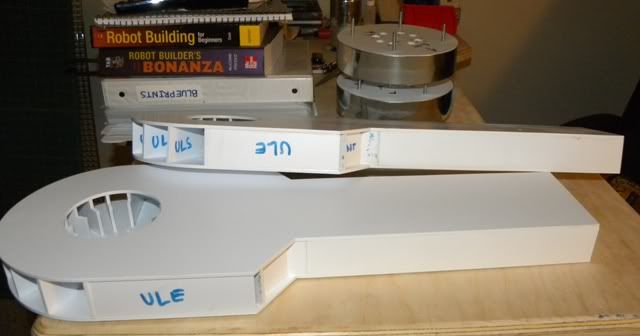
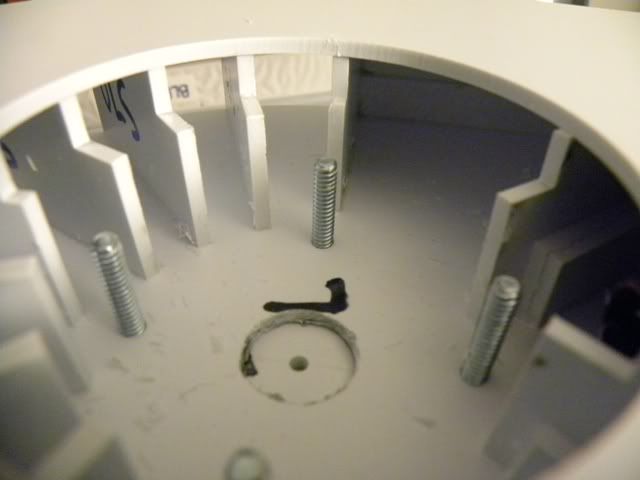
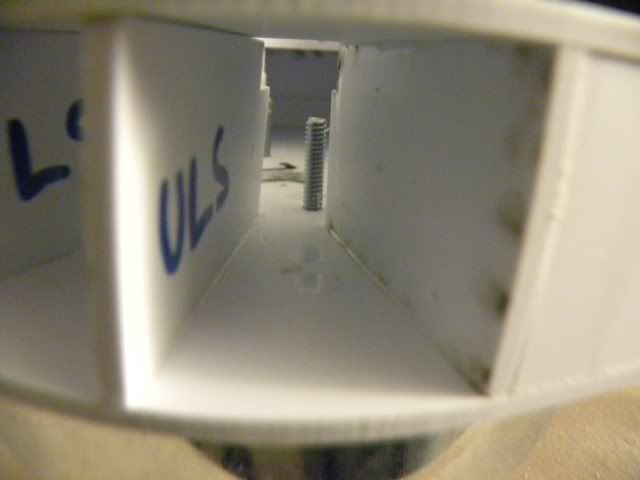
I test fit the legs last night. They still need to be skinned and drilled for cables. After I get the legs skinned I will start skinning the body. The main ankles are almost done too and the center ankle is all cut out and ready to begin assembly.
Tuesday, December 28, 2010
Sunday, December 26, 2010
Christmas for an R2 Builder
Monday, November 29, 2010
Finally, Some Real Progress After a Dry Spell
I got some shoulder and leg work done over the holiday. I got the shoulders pretty much done. They have been skinned in the .040" styrene with an outer layer of 1/16” thick aluminum held in place mostly by 3M VHB tape and a little glue at the ends where the seam is. You can just see the finished shoulders behind the legs in the lower pictures of the legs.
The legs are all assembled and drilled, but I need to fill in some areas and even some others out with a little filing and sanding before skinning. While I do that I have started assembling the main ankles (not pictured.)
One thing I have noticed is that the bolts that stick up into the leg where the shoulder hub will go seem way too long. I am wondering if they need to be cut down to accommodate the shoulder bolt. I need to pick up a set of resin shoulder hubs to confirm the lengths for cut-off.
Sunday, November 28, 2010
Budget Red/Blue Blinker
Thanks to a tip from Jamie Papinchak on astromech.com I picked up a couple of snowman Christmas decorations with a red/blue LED flasher built into it. I took a picture of the blinker removed from the decoration and made a short youtube video of it in action. It's not the best option for your droid, but for the budget builder, it seems like a fine alternative. Now to find a green/yellow snowman blinker...
Wednesday, November 24, 2010
Proof of Life - Shoulders
Thursday, October 7, 2010
Starting a new blog and re-setting my droid build.
No I am not ending this R2-A6 build blog, I am starting another one in addition to this one.
My man-cave/hobby room has gotten out of hand. It's turned into a dumping ground for unwanted tools and junk collected for future projects and unfinished ones. I am clearing it out completely, re-organizing and resetting my work space. I am finally going to college (it's been 13 years since I was in High school) and will need an office to take the on-line courses as part of my Bio-mechanical Engineering Technologies degree at Purdue. I also want to be able to pursue my hobbies like building this droid and other things.
With all this in mind, I decided to take this opportunity to totally re-do the room now dubbed my 'Ready Room.' This is pretty exciting as I've been waiting to get our next house to trek-i-fi a room for myself, but now with 4 years of college ahead of me before we can even look at moving I decided the time was nigh.
I am starting a new blog about it here.
I will be building R2 again soon. His naked legs and bare bones mock me every time I go in there and it's time to take things in hand. So hand me that hyper-spanner over there and lets get to work!
Oh, and the vacuum former is still in construction. got the major steel and wood body work done. A few more welds and I'll move onto the platten, oven, and vacuum systems. More to come on that.
Friday, July 23, 2010
Stay tuned!
I have not stopped building my droid - I am working hard this summer to build my vacuum forming machine and a bunch of Trek props to fund my hobbies.
I'll be back on it as the weather makes it harder to work in my un-heated garage, so stay tuned.
Monday, April 19, 2010
Styrene Legs Begun
Wednesday, April 7, 2010
Wheels! Cheap Wheels!
Trust Dave Everette to come up with a great source for cheap wheels for a droid... and also a variety of wheel hub sizes (even customizable ones - provided you order the minimum.)
4-7/8" x 0.8" wheels (we're talking $6.00 to $6.80): http://banebots.com/c/WHB-WS-498
6mm hubs and shafts (to work with the YG-2738 motors from the styrene plans): http://banebots.com/c/WHB-HS-M6
4-7/8" x 0.8" wheels (we're talking $6.00 to $6.80): http://banebots.com/c/WHB-WS-498
6mm hubs and shafts (to work with the YG-2738 motors from the styrene plans): http://banebots.com/c/WHB-HS-M6
Monday, April 5, 2010
Main Ankles in Pieces!
Just a quick post. I got my .125" pieces of the main ankles laser cut. I re-drew Dave's plans and had them laser cut (just one set for me)
I am awaiting the main legs from the laser cutter too. Not all the pieces will be laser cut, but the important ones that need to be as square as possible are. Plus I still have to sand/file all the chamfers.
Saturday, March 27, 2010
Shoulders
Saturday, March 20, 2010
Styrene Frame Completed
I had the week off from work. So during the day while my wife wife was at work, and my little girl was in day care, I spent some quality me-time and got the frame built. There are a few alignment problems, but all-in-all I am very pleased with the way it turned out.
BTW, I used this non-toxic paint thinner to remove the easy tack spray adhesive residue left on the plastic after peeling away the cutting templates.
It seems to a have a little give when twisted, but I have been told that once the skins are attached it should be a formidable column of sturdiness.Here are some construction pix and a few round about shots of the completed frame. Next step, shoulder hubs, arm carriers, and some resin casting...
Monday, March 15, 2010
Some Styrene Frame Work
I used my new home-made router table today. I got the round parts of the frame cut. The first image makes the edges look rough, but that's just the paper templates ragged at the edge, the rings/disks are smooth edged and perfect as seen in the second picture. I couldn't be happier. My thanks again to Dave Everett for making his styrene droid building plans available!
Monday, March 1, 2010
Small beginnings-styrene frame started
Not a great big start, but I have been gathering a nice little pile of supplies. I finally had to do something with my big roll of styrene before it permanently retained its curved shape. So I unrolled it last night and got to work cutting out the larger sections of the frame for a start. The multi-color printed pages are the rest of the frame cutting templates. I overlaid a colored 1” cutting grid in adobe illustrator to make matching up the 8.5” x 11” printed pages easier.
Wednesday, January 27, 2010
Gearing up for a change in direction
I sold all my droid stuff. ALL OF IT. I am starting over for reasons best left off the blog.
This time around I am going with Dave Everett's styrene droid plans. Tonight I built my router table. It took me maybe 10 minutes. I had this pice of smooth surfaced MDF laying around, so I put it on some saw horses, drilled the center bit hole and the three screw holes (counter sunk) and bought some longer mounting screws to put my Craftsman router under there. I picked up an extra 1/8" router bit, a digital caliper, a nice snap-of blade knife. These tools will be used to cut out all the styrene parts
The styrene for the frame and skins will be here soon, and I am placing an order with Staples to print the cutting templates out. I also have some Weld-on #3 and a needle applicator bottle on it's way to me.
Besides those things, all I really need to begin is some low-tack spray adhesive (or something equivalent) to attach the templates to the styrene sheet for cutting.
Monday, January 25, 2010
Subscribe to:
Posts (Atom)