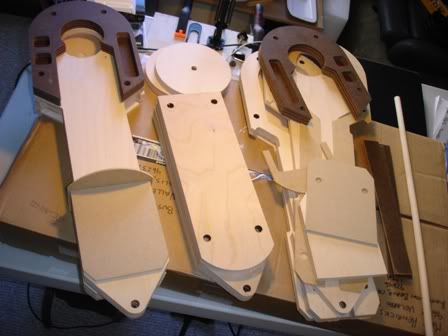
I am off work today. Even though I am sick, I still decided to hit the workshop and breathe some dangerous fumes. Just what a medicated sinus infection needs, eh?
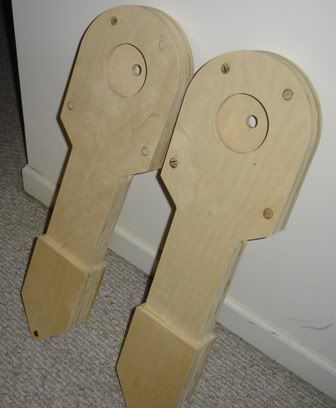
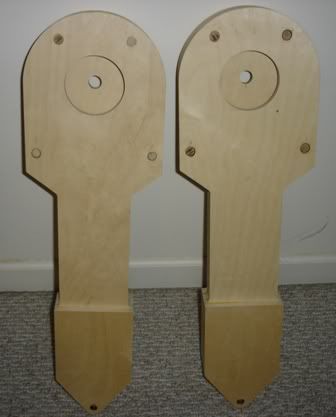
Got the sides of the middle leg all cemented up and clamped in place. I thought about cutting a strip that would wrap all the way around from the top of one side to the top of the other bending over the foot pivot point, but I decided to do those parts separately for simplicities sake. This will create a tiny bit of re-work at the end sealing and sanding the seams, but that’s acceptable to me.


On to the bigger legs while the middle one sets. I decided to start with the front of one of the side legs. I went ahead and bonded up the peg holes. I didn’t really need to, but in the interest of completeness, I figured it couldn’t hurt.

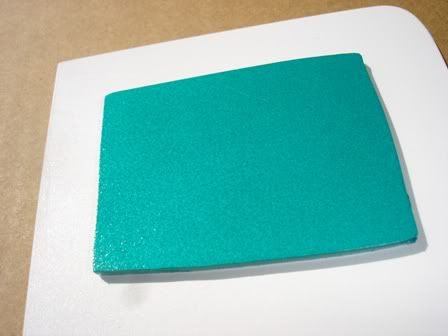
I cut the plastic out (trimming a small rough hole for the shoulder hub-it will be finished up after everything is glued tight,) and test fit it before gluing.

Then I painted on the water based contact cement using a gray-foam brush. You can see the difference between the brushed wood surface and the bare wood surface (after curing for about 30 minutes per instructions on the can.)

Then I clamped it up and so it shall sit in the workshop over night. You can see in the up-close shot that I trimmed the styrene so that there was some overhanging the edge of the leg. I will do this on all my plastic pieces. This way I can trim it up after it sets so I don’t have to be too perfect when cutting the pieces out and fitting them to the legs; a nice time saver producing only a little waste.


